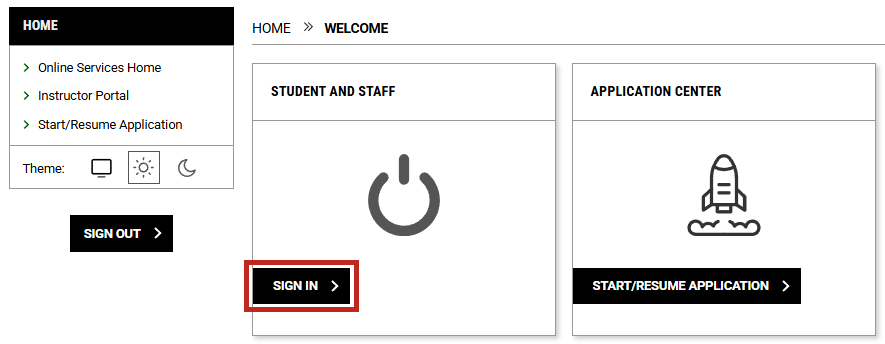
Under the "Student and Staff" section, click the "Sign In" button.
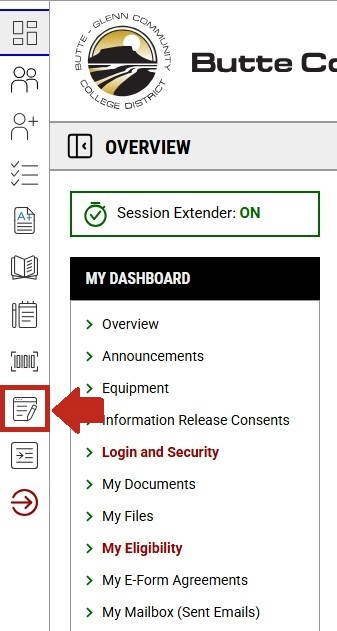
In the icon menu on the left, select the one titled "Notetaker".
This will take you to the notetaker overview page.
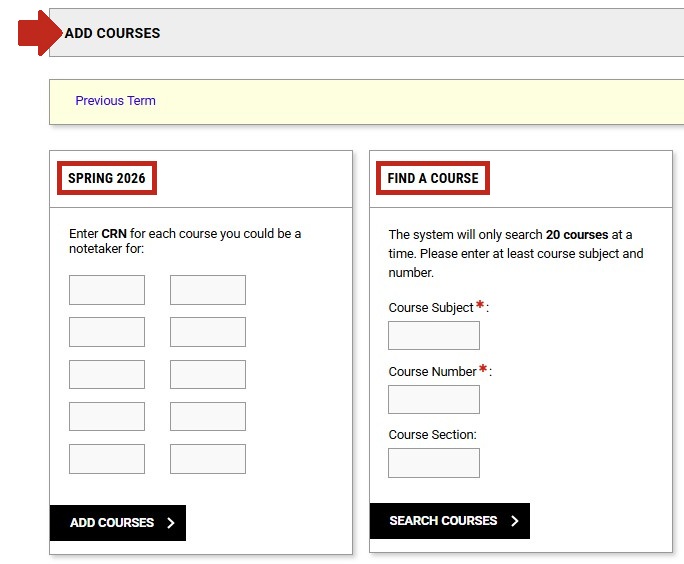
The section titled, "Add Courses" shows two subsections.
The subsection on the left is where you can enter the courses that you are registered for to see if you could be a peer notetaker in any of those classes.
The subsection on the right titled "Find A Course" is where you can search for a specific course that you haven't been assigned yet.
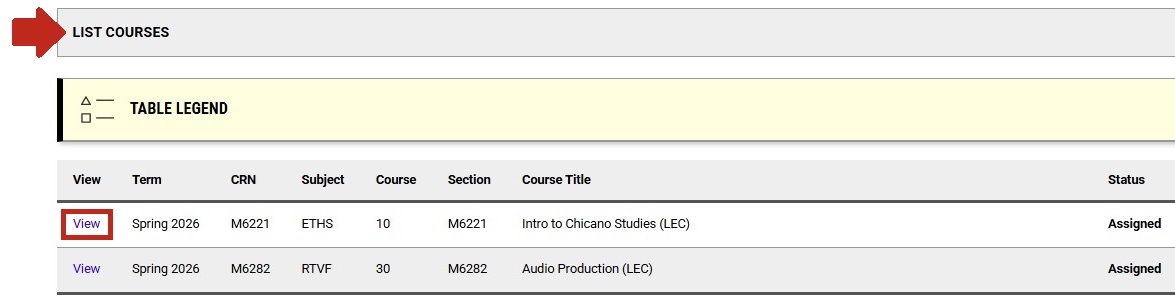
The section titled, "List Courses" lists the courses that you are an assigned notetaker for.
Clicking the "View" button next to one of your assigned classes will show you more information about that class.
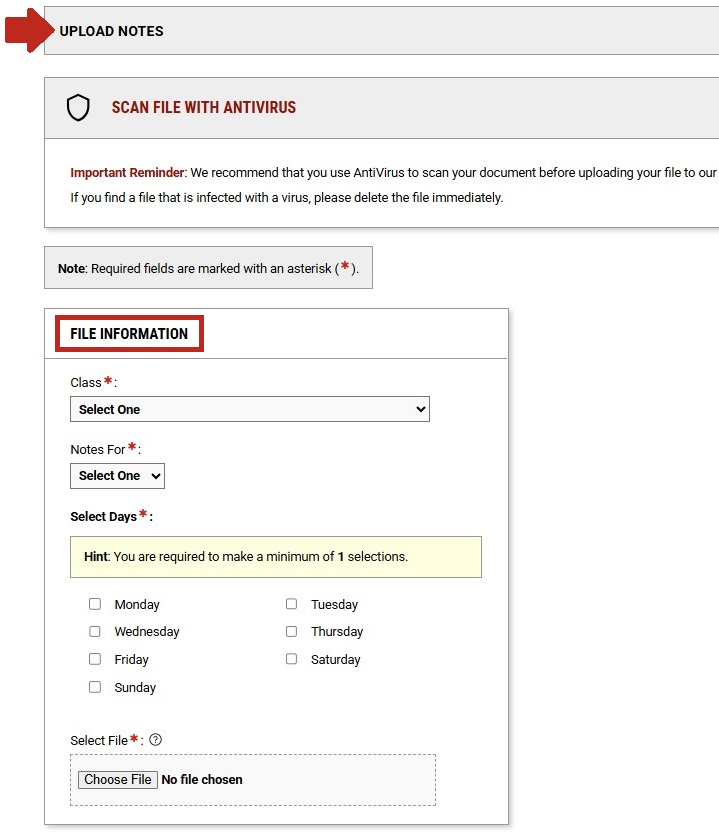
The section titled, "Upload Notes" is where you will be attaching and uploading your notes.
This where you will be filling out the information about the notes you wish to upload, as well as attaching the appropriate file.
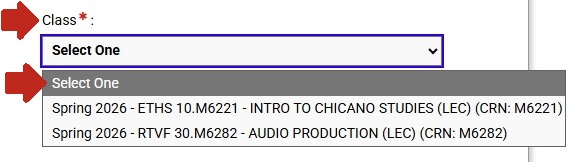
Under "Class:" click on the drop-down menu and select the class that the notes that you are uploading are for.
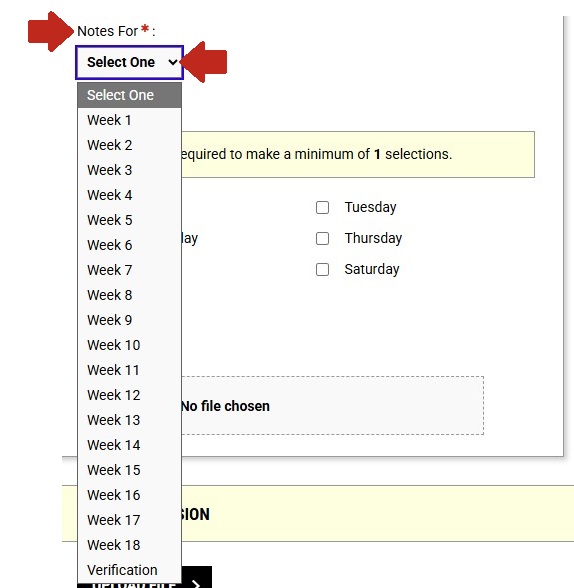
Under "Notes For:" click on the drop-down menu and select the week of the semester that the notes are from.
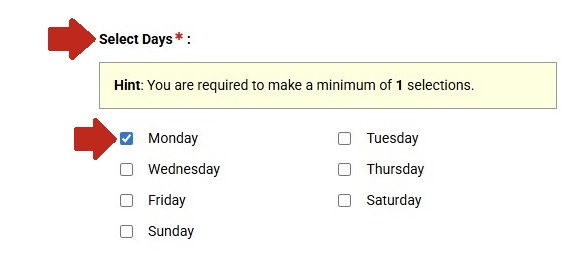
Under "Select Days:" select the day of the week that the notes are from.
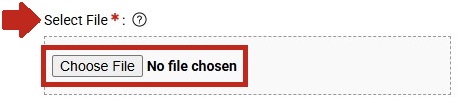
Under "Select File:" click on the "Choose File" button and choose the appropriate file to upload from your device.
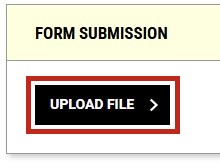
Once you have reviewed the information that you have filled out, click on the "Upload File" button at the bottom of the page.
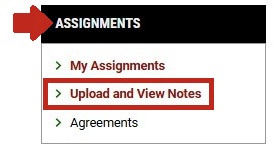
To view files that you have uploaded and a shortcut to the "Upload Notes" section, go to the left-side menu titled, "Assignments" and select the "Upload and View Notes" option.
This will lead you straight to the "Upload Notes" section with the "File Information"
You would follow the same process as before to upload notes.
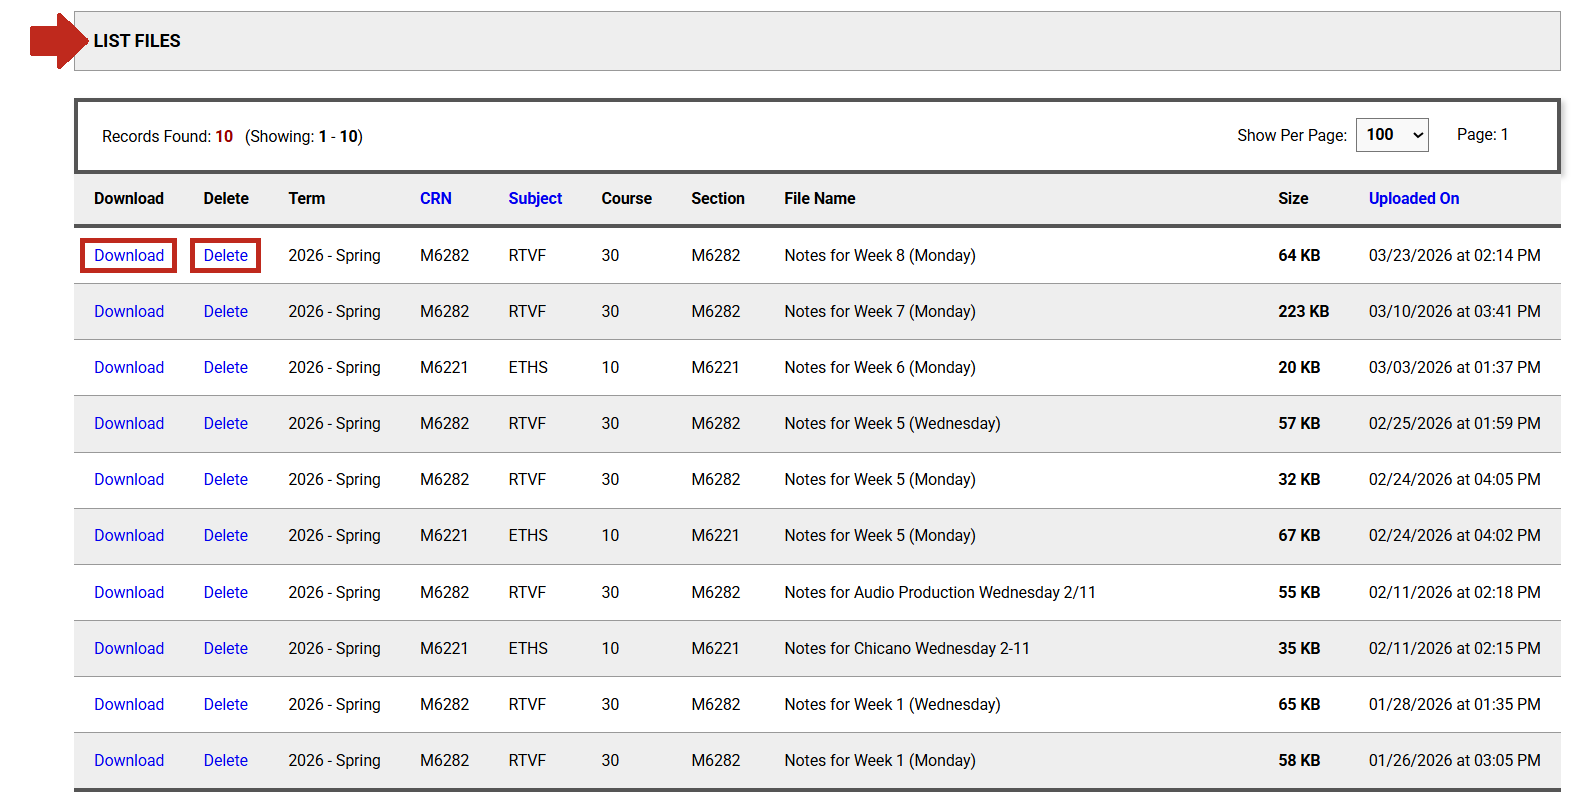
Beneath the "Upload File" button, there is another section titled "List Files". This shows you an entire list of all the files you have uploaded for the current semester.
You can download these files to view them, or you can delete them if necessary.
You're done! If you have any questions contact DSPS.